
How to connect Switch Pro to a mobile hotspot for shared eSIM data
Instead of swapping SIM cards whenever you need shared data, configure a supported eSIM profile on Switch Pro, then insert the adapter into a confirmed-compatible mobile hotspot with a physical SIM slot. The hotspot shares the connection over Wi-Fi; Switch Pro stores the profile and does not create a Wi-Fi network itself.
- To connect Switch Pro to mobile hotspot hardware, confirm adapter support, carrier unlock status, network bands and tethering permission first.
- Switchesim positions Switch Pro for Android-based eSIM profile management; hotspot use requires separate device compatibility confirmation.
- Load and select the profile before moving the adapter; do not assume the hotspot can manage profiles.
- Test cellular internet before connecting other devices to the hotspot’s Wi-Fi network.
Why this matters
A physical SIM slot is necessary, but it does not prove adapter compatibility. Your hotspot must accept the configured adapter, support the provider’s network and allow the required connection settings. A carrier lock or a plan that excludes router use can stop the workflow even when the card fits.
Switchesim’s Switch Pro eSIM adapter is best for users who want Android-based profile management before using a confirmed-compatible hotspot. That separates the management device from the device sharing the connection.
For a 2026 setup, check the exact hotspot model, regional variant and firmware. A similar model name is not a substitute for confirmation.
Before you start
- Confirm device fit and permission. You need a hotspot with a compatible physical SIM slot, suitable network bands and carrier-lock status that permits your chosen provider. Ask the provider whether the specific plan permits hotspot or router use and tethering.
- Prepare profile management. Have Switch Pro, a compatible Android phone for the Switch Android app, an independent internet connection and the provider’s activation materials. Keep the hotspot manual and administrator credentials ready.
- Resolve the profile-selection gotcha. Confirm how you will select the intended profile before removing the adapter from Android. Do not assume that a hotspot’s SIM settings can load, delete or switch stored eSIM profiles.
Keep the provider’s APN instructions, roaming requirements and validity rules alongside the activation materials. Installing a profile and starting its service validity are separate events under provider-specific terms. Check those terms before downloading a destination plan.
Hardware and management-path choice
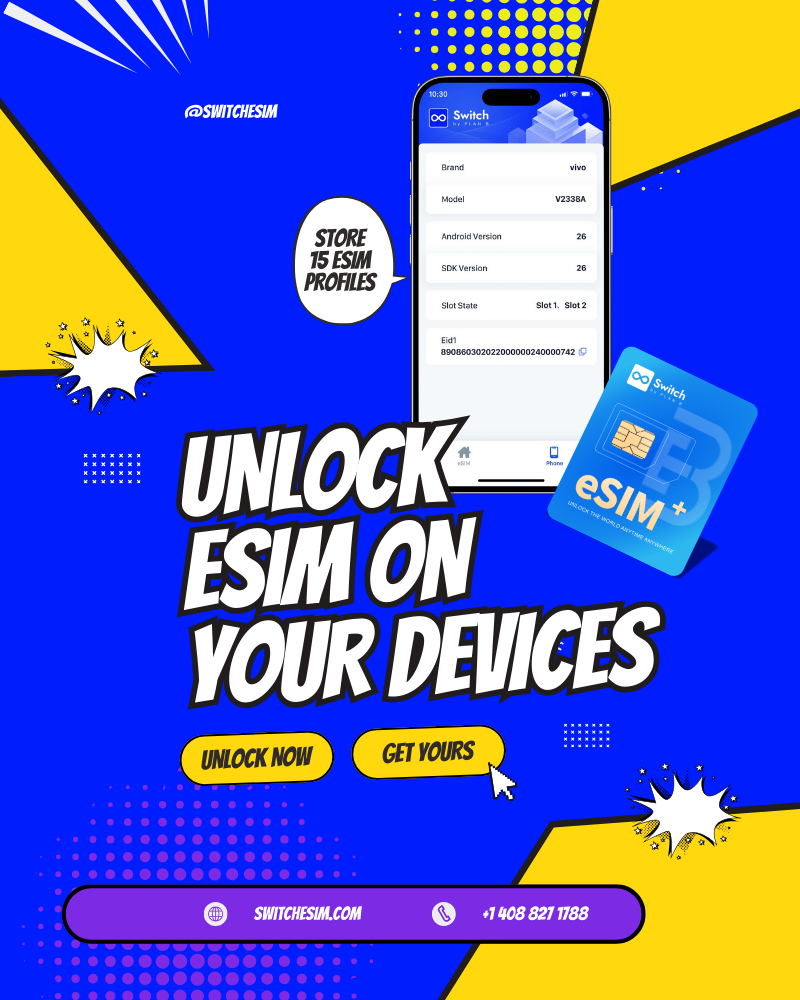
Switchesim lists Switch Pro and Switch Max as storing up to 15 eSIM profiles each. That is storage capacity, not a promise of simultaneous connections or compatibility with every hotspot.
Choose hardware around the management path you can actually use. The adapter, profile-loading method and target hotspot each have a separate role.
| Option | Best for | Useful capability | Limitation to resolve |
|---|---|---|---|
| Switch Pro | Android-based profile management | Stores profiles on a removable adapter | Direct hotspot use needs exact-device confirmation |
| Switch Max | Compatible iPhone and Android use | Extends configured-card use to compatible iPhones | Requires a compatible physical SIM slot; iPhone use is not Android app management |
| Bluetooth reader | Provisioning without an Android phone | Loads profiles through a separate reader | Does not replace the hotspot’s cellular modem or Wi-Fi function |
| Pre-loaded destination-data cards | Users choosing a configured destination plan | Provides a pre-loaded adapter-and-plan setup | Device fit, destination coverage and plan terms still need checking |
Choose Switch Pro when a compatible Android management device is part of your workflow. Choose Switch Max for a confirmed-compatible iPhone use case, not as an assumed fix for an unverified hotspot. Consider the Bluetooth reader when Android access is the obstacle.
For a 2026 purchase, confirm the required operating-system version for your chosen management path. “Android” or “iPhone” alone is not enough detail to establish compatibility.
Android profile configuration
The Switch Android app manages the adapter’s profiles. The hotspot handles cellular registration and Wi-Fi sharing after you move the configured card.
App and hotspot controls vary by software version and model. Follow the device’s documented labels rather than looking for a universal button sequence.
- Record the hardware details. Note the Android phone model, Android version, hotspot model, regional variant and firmware. Obtain compatibility confirmation for the intended combination before loading a plan.
- Insert Switch Pro into the compatible Android phone. Follow the phone’s SIM-handling instructions. Keep an independent internet connection available during provisioning.
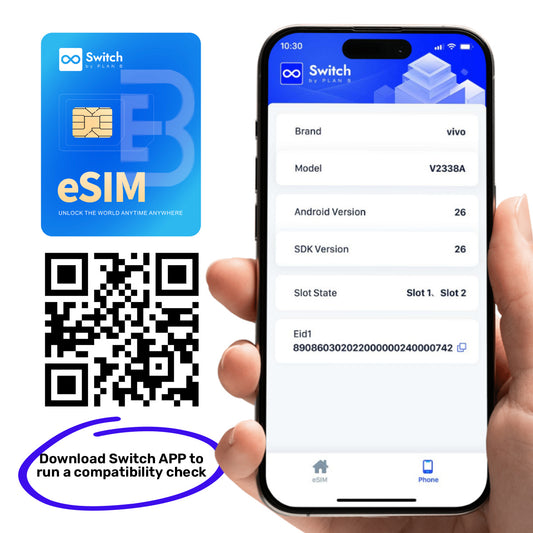
- Open the Switch Android app. Confirm that the app detects the adapter. Stop here if detection fails; hotspot settings cannot repair an Android management-access problem.
- Load the provider’s profile. Use the activation method supported by the app and provider. Keep activation codes private and follow the provider’s instructions for QR-code or manual activation materials.
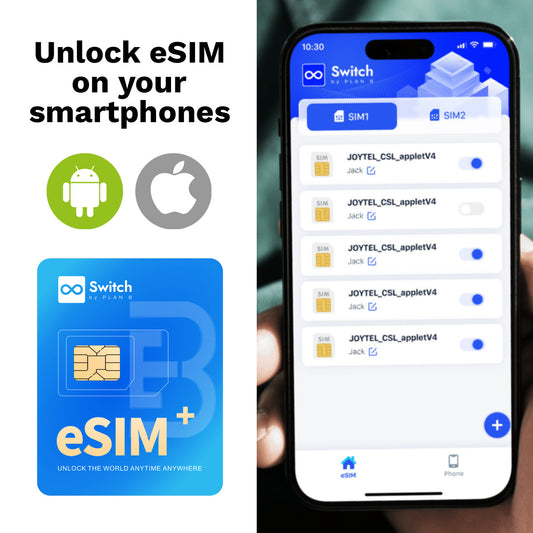
- Select the intended profile. Confirm that the profile appears in the app and that the intended selection is complete before removing the adapter. Record a recognizable profile name for your own setup notes.
- Check the plan’s activation conditions. Verify destination coverage, validity start conditions, APN requirements and permission for router use. A successful download does not establish all of these.
Expected result: the Android management app recognizes Switch Pro, the intended profile is installed and selected, and you have the provider’s connection instructions.
For the Android management stage, follow the Switch app profile-management guide.
Privacy during provisioning
Treat an activation QR code like an account credential. Do not include it in public screenshots, shared troubleshooting documents or photos of your setup.
Switchesim describes its Bluetooth reader as open source and requiring no app or account. Those are reader-specific claims, not proof that a cellular provider collects no information. The provider still controls service activation and its own account requirements.
Keep management access separate from guest Wi-Fi access. Someone who needs internet through your hotspot does not need the activation code, Android management device or hotspot administrator password.
Hotspot cellular configuration
Confirm direct hotspot compatibility before moving the card. A device that accepts ordinary physical SIMs is not automatically confirmed for this adapter workflow.
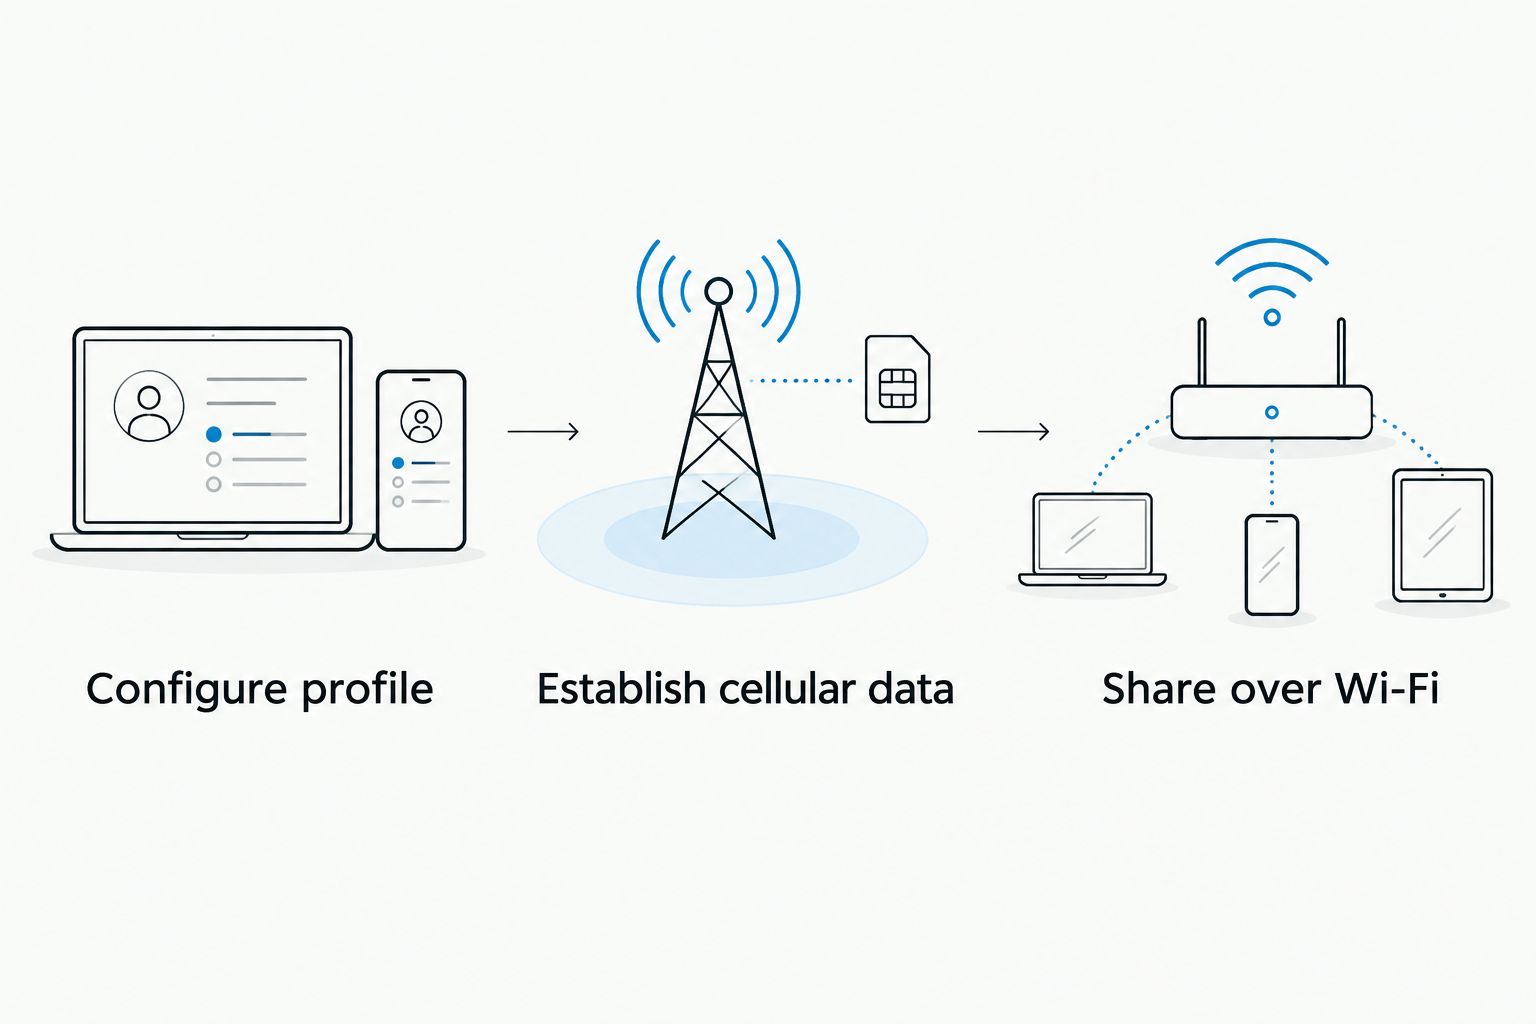
The setup has three distinct stages: configure the profile, establish cellular data and share it over Wi-Fi. Complete them in that order so a failed Wi-Fi test does not hide a cellular problem.
- Prepare the hotspot for insertion. Follow its manual’s power-off and SIM-handling procedure. Remove the configured adapter from Android and insert it in the correct orientation without forcing the slot or tray.
- Open the hotspot’s administration interface. Use the address or app specified in its manual. Do not substitute a guessed administrator address from a different model.
- Check SIM recognition. Confirm that the hotspot detects the card. Resolve a SIM PIN request using the correct PIN; do not make repeated guesses.
- Configure the APN when required. Enter the provider’s exact APN value and any specified authentication details in the hotspot’s cellular settings. Leave unrelated fields unchanged unless the provider instructs otherwise.
- Apply the provider’s roaming requirement. Some travel-data services require data roaming on the device using the profile. Enable it only as instructed for that plan, and check the applicable service terms.
- Check network registration. Look for the hotspot’s cellular connection status and any error message. Distinguish a detected SIM from a registered network connection.
- Test internet access. Use the hotspot’s connection diagnostics if provided, or proceed with a single Wi-Fi client for an isolated test.
Expected result: the hotspot recognizes the adapter, registers on a permitted network and establishes a cellular data session.
For 2026 troubleshooting, save the exact error message and firmware version. “No internet” is less useful than knowing whether the failure is SIM detection, network registration or the data session.
Wi-Fi sharing configuration
Once cellular data works, configure the local wireless network. The hotspot’s Wi-Fi password and administrator password serve different purposes; keep both private.
- Set a recognizable network name. Use the hotspot’s wireless configuration controls. Avoid putting your phone number or account information in the network name.
- Enable supported Wi-Fi security. Choose an appropriate password-protected mode supported by the hotspot and your clients. Do not leave the shared network open for convenience.
- Connect 1 client device first. Join the hotspot network using its Wi-Fi password. Temporarily disable that client’s alternative internet connection so the test actually uses the hotspot.
- Open a fresh webpage. Confirm that the page loads rather than relying on a cached screen. If the hotspot reports usage, check that the connection is carrying traffic.
- Add the remaining devices. Stay within the hotspot manufacturer’s client limit and the plan’s sharing rules. Pause unnecessary cloud backups and large updates if they would consume the shared allowance.
Expected result: a client device reaches the internet through the hotspot’s cellular connection, then additional permitted clients connect successfully.
The stored-profile count does not multiply the plan’s allowance. A card holding 15 profiles is not a pooled-data plan. Each provider’s service terms determine what its profile includes.
Alternative workflow: Android phone as the hotspot
Use Android tethering when you want to keep Switch Pro in the compatible management phone instead of moving it into dedicated hotspot hardware. This removes the separate hotspot from the setup, but still requires a compatible phone and a plan that permits tethering.
Best for: users who already have a supported Android phone and want it to provide the shared connection. The trade-off is that sharing depends on that phone remaining present, powered and connected.
- Keep the configured Switch Pro in the compatible Android phone.
- Select the adapter’s line for mobile data where the phone supports multiple lines.
- Confirm that mobile data works on the phone before enabling sharing.
- Open Android’s hotspot controls and configure a password-protected Wi-Fi network. Menu names depend on the manufacturer and Android version.
- Connect a client device and repeat the isolated internet test.
Expected result: the Android phone supplies cellular data and Wi-Fi sharing while retaining access to profile management.
For a 2026 deployment, choose this workflow deliberately rather than treating phone tethering and dedicated-hotspot insertion as the same setup. Their hardware requirements and management access differ.
Troubleshooting
The hotspot does not detect the adapter
Check insertion orientation, slot format and the device’s documented SIM procedure. Confirm the exact hotspot variant’s adapter compatibility. Do not change APN settings until the device detects the SIM; APN configuration does not fix physical recognition.
The SIM is detected, but no network registers
Check carrier-lock status, plan activation, destination coverage and supported network bands. Follow the provider’s network-selection and roaming instructions. Keep the registration error text for support rather than repeatedly reinstalling the profile.
The hotspot registers, but clients have no internet
Verify the APN and any provider-specified authentication details. Check that the plan permits hotspot or router use and has usable service remaining. Test a single client to separate a cellular problem from a local Wi-Fi problem.
Wi-Fi connects, but another profile seems to be in use
Review the profile selected before the adapter left Android. Do not assume that a hotspot’s network-selection menu switches stored profiles. Return to the supported management method and verify the intended profile before retesting.
Downloading or reinstalling a profile fails
Check the provider’s activation-code status and reinstallation policy. Some activation credentials are single-use. Do not delete a working profile as a routine troubleshooting step before confirming whether the provider can restore or replace it.
Customize your workflow
Build a short device record after the first successful test. Include the hotspot model, firmware, management phone, profile label, APN and provider instructions. Exclude activation secrets and passwords from shared copies.
Before your next 2026 trip or deployment, repeat the compatibility and plan checks for the destination. A working adapter does not change the hotspot’s radio bands or the provider’s coverage.
For teams, Switch Pro and Switch Max bulk options and white-label adapter supply address procurement, not automatic fleet compatibility. Validate the intended hardware and management process before expanding a deployment.
FAQ
How do I connect Switch Pro to mobile hotspot hardware?
Configure the profile through a supported management method, select it, then insert Switch Pro into a confirmed-compatible hotspot with a physical SIM slot. Configure the provider’s cellular settings and test internet access before adding Wi-Fi clients.
Does Switch Pro create its own Wi-Fi hotspot?
No. Switch Pro stores eSIM profiles; the compatible hotspot or Android phone provides the cellular modem and Wi-Fi sharing.
Can I use Switch Pro in every hotspot with a SIM slot?
No. Confirm the exact model, regional variant, firmware, carrier-lock status, network bands and provider requirements before using the adapter.
Can I manage Switch Pro profiles from the hotspot’s settings?
Do not assume the hotspot supports profile management. Switch Pro uses Android-based management, so confirm a supported selection method before moving the card.
How many eSIM profiles can Switch Pro store?
Switchesim lists Switch Pro as holding up to 15 eSIM profiles. Stored profiles do not establish simultaneous connections or combine separate data allowances.
Do I need the Bluetooth reader for this workflow?
The Bluetooth reader is not required when you have a compatible Android management phone. It provides a separate provisioning path without an Android phone, subject to the adapter and reader’s supported setup.
Will an eSIM adapter remove my hotspot’s carrier lock?
No. An eSIM adapter does not remove a carrier lock; confirm that the hotspot accepts the provider you intend to use.
Can I share the connection with an iPhone or laptop?
An iPhone or laptop can use the hotspot’s Wi-Fi when its wireless connection is compatible and the plan permits sharing. The client device does not need to manage the adapter or install the profile.
One last thing
Do the first internet test with the client’s alternative connection disabled. Otherwise, a phone can load a page over its own cellular service while the hotspot remains offline. Prove the actual data path before relying on it.