
eSIM adapter for router: Switch Pro setup 2026
Instead of repeatedly tethering your phone, configure Switch Pro through the Switch Android app, then move the card into a compatible cellular router to share eSIM data over Wi-Fi or Ethernet. This 2026 workflow requires a compatible physical SIM slot, a supported router modem and an eSIM plan that permits router use and shared data.
- Switchesim's eSIM adapter for router use requires a compatible physical SIM slot and a provider-approved data plan.
- Configure Switch Pro through the Switch Android app before installing the card in your router.
- The Bluetooth reader offers a separate profile-loading route without an Android phone; confirm compatibility with your card.
- Stored eSIM profiles do not establish automatic failover or simultaneous cellular connections.
Why this matters
Switchesim's Switch Pro is best for router users who have compatible Android hardware for profile management. It separates provisioning from everyday connectivity: the Android phone manages the card, while the router supplies the cellular connection and shares it with your devices.
The adapter does not add a cellular modem to a Wi-Fi-only router. It also does not remove carrier locks, change supported radio bands or override an eSIM provider's device restrictions. Check those limits before buying hardware or downloading a profile.
For a 2026 deployment, treat compatibility as a chain rather than a single checkbox. The card, management device, router modem, firmware and data provider must all fit the intended setup.
Before you start
- Confirm the router hardware. You need a cellular router with a compatible physical SIM slot, access to its administration interface and its model-specific manual. Check the exact model, regional variant, modem bands, firmware and carrier-lock status. A physical SIM slot alone does not prove adapter compatibility.
- Prepare the management path. For Switch Pro, use a compatible Android device and the Switch Android app. Have internet access and the provider's supported activation method ready. The Bluetooth reader is a separate provisioning option; confirm support for the exact card and management environment before choosing that route.
- Check the plan before downloading. Confirm router use, data sharing, coverage, activation timing, APN requirements and roaming instructions with the provider. Downloading a profile can trigger plan validity under some provider policies, so do not provision a destination plan early without checking its activation rules.
Keep your existing connection available during setup. You need a working internet connection for provisioning and a recovery path if the router does not register on the cellular network.
Choose the management path
Switchesim distinguishes Android-based management, compatible iPhone use and reader-based provisioning. These are different tasks. Using a configured card in a device does not establish that the same device can download or switch its profiles.
| Hardware option | Best for | Supported role stated by Switchesim | Advantage | Limitation to resolve |
|---|---|---|---|---|
| Switch Pro | Router users with compatible Android management hardware | Android-based profile management | Gives you a defined phone-based provisioning route | Confirm both Android management compatibility and router compatibility |
| Switch Max | Users also planning compatible iPhone use | Extends use to compatible iPhones | Addresses a different host-device requirement | iPhone use does not establish router compatibility or iPhone-based profile management |
| eSIM adapter and Bluetooth card reader bundle | Users who need provisioning without an Android phone | Pairs an adapter with the open-source Bluetooth reader | Provides a separate profile-loading route | Confirm the supplied adapter and reader workflow suit your router deployment |
| Pre-loaded destination-data cards | Users who want destination data provisioned before setup | Cards supplied with destination-data profiles | Removes the initial profile-download task | Coverage, validity and router-use permission still need checking |
Choose Switch Pro for this guide's Android-managed workflow. Choose the reader route when you need to load profiles without an Android phone, not because you expect the reader to become the router's cellular modem.
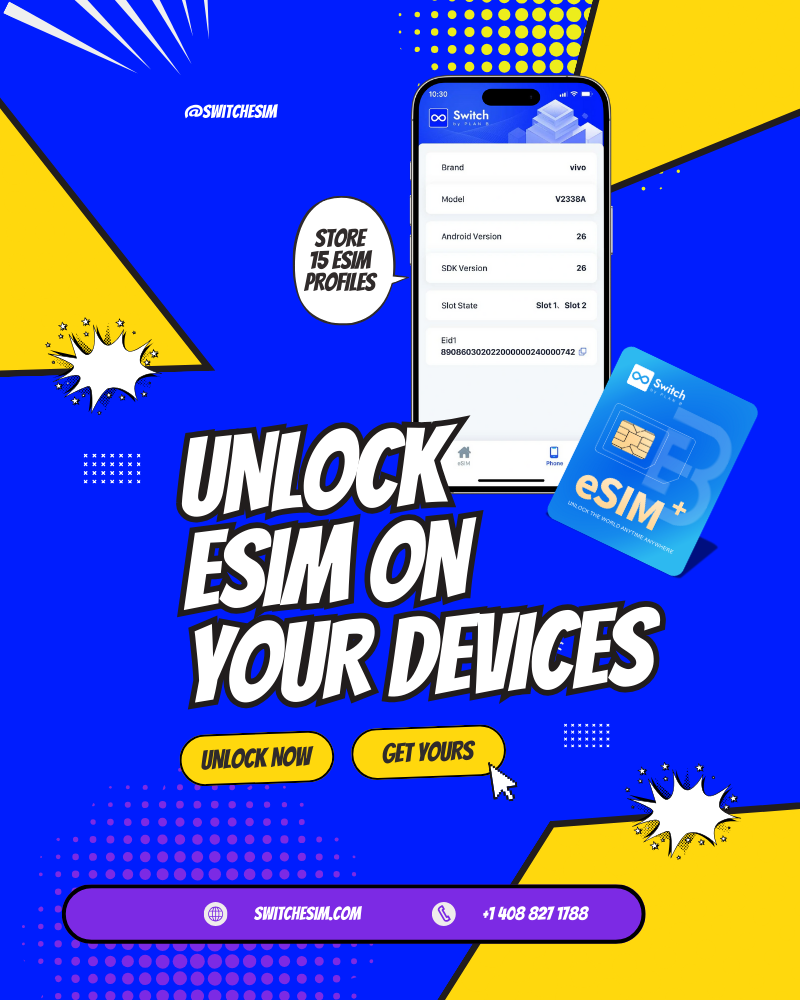
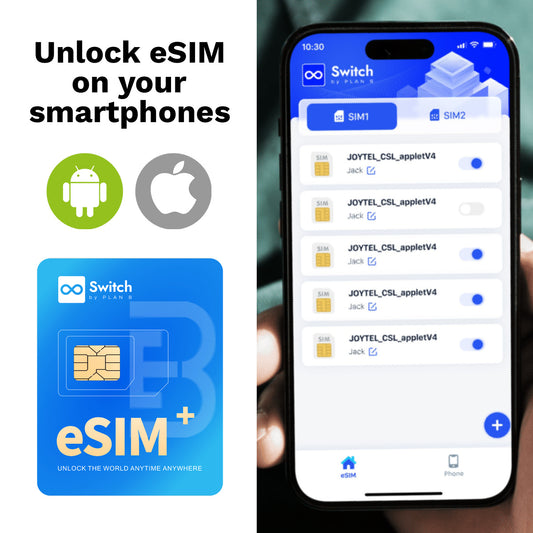
The supplied bundle description states storage for up to 15 eSIM profiles. That figure applies to that bundle description; it is not a verified capacity figure for every Switch Pro card. Stored-profile capacity also does not mean simultaneous active connections.
For your 2026 purchase, confirm the exact card's capacity and supported management route. Do not substitute a product-family name for a compatibility check.
Android profile configuration
The Switch Android app is the management path for Switch Pro. Complete provisioning before transferring the card to the router; do not expect a generic router administration page to provide the app's profile-management functions.
- Check the Android device's compatibility with Switch Pro and the Switch Android app. Follow the device manufacturer's procedure for inserting the card into its physical SIM slot.
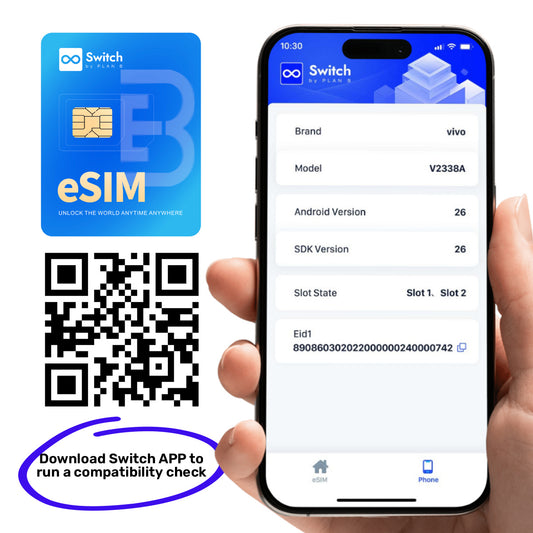
- Open the Switch Android app and verify that it detects the adapter. Resolve detection problems before attempting a download.
- Use the activation method supported by both the app and your provider. Supply the provider's QR-code or manual activation details as applicable, using the current product instructions.
- Select and enable the intended profile through the supported app workflow. Record its provider, destination coverage, APN instructions and activation conditions.
- If the plan permits testing in your current location, verify cellular data on the Android device. Avoid a test that starts destination-plan validity before you intend to use it.
Expected result: the app detects Switch Pro and shows the intended profile configured and selected. Where coverage and plan conditions permit, a phone-based data test gives you an additional check before router installation.
App controls and router menus are not interchangeable. Use the current app instructions for the exact control names; do not enter an activation code into an unrelated router SIM-PIN or APN field.
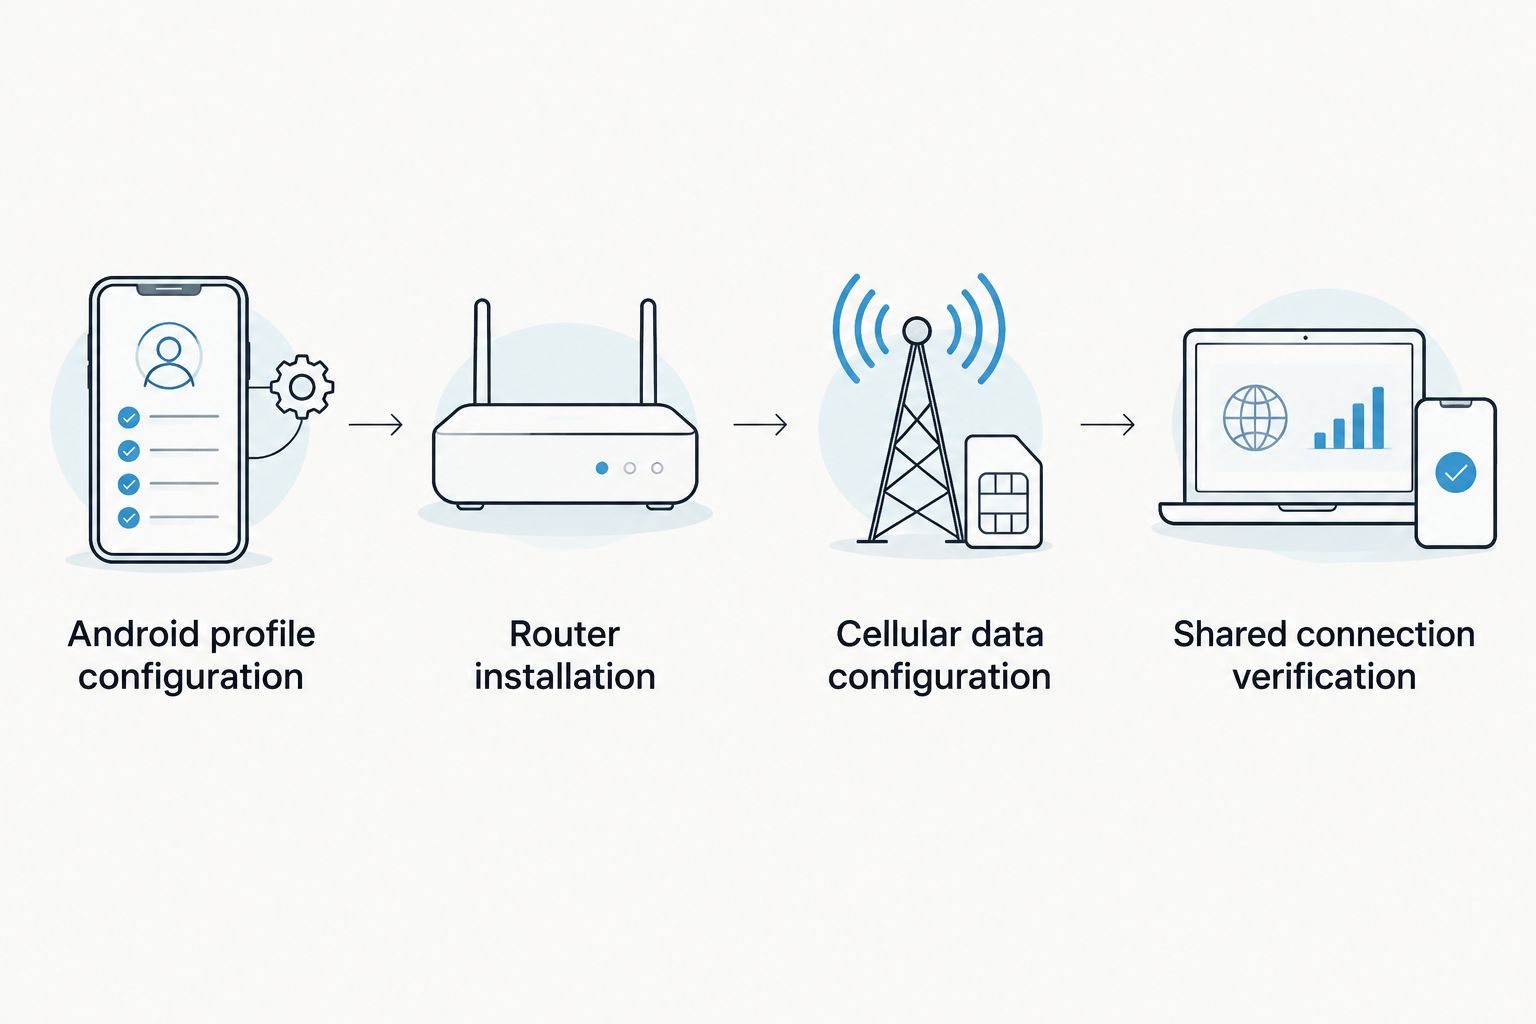
The complete workflow has four configuration units: Android profile configuration, Router installation, Cellular data configuration and Shared connection verification. Each has a separate success check.
Router installation
A configured adapter still needs a compatible router. Check the router's documented SIM size, insertion orientation and power procedure before moving the card from the Android device.
- Record the router's current cellular settings and preserve any working configuration using its documented backup method. Keep the administration credentials accessible.
- Shut down the router and remove power as instructed by its manufacturer. Follow the Android device's card-removal procedure before taking out Switch Pro.
- Insert the adapter into the router's physical SIM slot using the required orientation and size. Do not force the card or stack improvised size adapters.
- Restore power and open the router's administration interface using the access method in its manual.
- Inspect the cellular modem's SIM-detection status. If a SIM PIN is required, use the correct PIN and the router's documented entry procedure.
Expected result: the router detects the installed card rather than reporting a missing SIM. Detection is the first checkpoint; network registration and internet access are separate checks.
Keep the router's original SIM accessible until the new setup passes testing. That gives you a physical recovery option without deleting or replacing the newly downloaded profile.
Cellular data configuration
Use the eSIM provider's network settings and the router manufacturer's instructions together. Router interface labels vary by model and firmware, so follow the exact labels in your router's manual rather than assuming a universal menu layout.
- Locate the router's cellular connection settings using its manual. Confirm that the cellular modem is enabled and selected for the intended internet connection.
- Enter the provider-specified APN. Add a username, password, authentication method or IP protocol setting only when the provider requires it.
- Apply the provider's data-roaming instructions. Travel profiles can use roaming partners; the correct setting follows the plan's instructions, not the country name alone.
- Save the configuration through the router's documented procedure. Reconnect the cellular session or restart the router only as its instructions require.
- Check network registration and the cellular data-session status. Distinguish a detected SIM, a registered modem and an established internet session.
Expected result: the modem registers on an allowed network and establishes a cellular data session. An APN entry alone is not proof that the router has internet access.
Do not copy an APN from an unrelated travel plan. Providers can use different settings even when their plans cover the same destination. Keep the provider's instructions with your deployment notes.
Shared connection verification
Once the router has a cellular data session, test the connection from a client device. A phone displaying a Wi-Fi connection proves only that it joined the local network, not that router data is working.
- Connect a laptop or phone to the router's Wi-Fi or Ethernet network. Use the router's documented network name and access credentials.
- Disable the test phone's own cellular data, or otherwise ensure the client has no alternative internet connection. This prevents a false success result.
- Open a fresh webpage and test the application you actually need. For remote work, check the required VPN or communication application separately.
- Review the router's cellular traffic counters and the provider's usage information where available. Confirm that the test used the intended cellular connection.
- Reboot the router using its normal procedure and repeat the connection test. Confirm that the selected profile and saved network settings remain usable.
Expected result: your client devices reach the internet through the router after a normal restart. They should not depend on the Android management phone remaining nearby.
For 2026 setup records, capture the router model, firmware, card variant, selected profile, APN and successful test location. Exclude activation secrets from shared screenshots or team documentation.
Load a replacement profile without an Android phone
The open-source Bluetooth reader provides another provisioning route. Switchesim states that the reader loads profiles without an Android phone; the listed reader product also states that no app or account is required. That does not establish the requirements of every browser, operating system or card combination.
Use this variant when Android management is impractical, after confirming the reader supports your exact adapter and management environment.
- Preserve the working router configuration and record the current profile's network settings.
- Power down the router according to its manual and move the card to the reader using the reader's instructions.
- Follow the reader's current provisioning procedure to load and select the replacement profile. Check the replacement provider's activation and redownload rules first.
- Return the card to the router and update its APN or roaming settings when the replacement provider requires different values.
- Repeat cellular registration and shared-connection verification before retiring the previous setup.
Expected result: the router uses the newly selected profile after the card returns to its SIM slot. This is a managed replacement workflow, not a claim of automatic carrier switching.
Troubleshooting
The router reports no SIM
Power down and check card orientation, required SIM size and seating. Confirm compatibility for the exact modem and firmware. If Switch Pro is detected in the supported Android management device but not in the router, investigate the router path before changing the profile.
The router detects the SIM but cannot register
Check carrier-lock status, destination coverage, supported network bands and whether the plan is active. Review the provider's permitted device types and roaming instructions. APN changes do not repair a carrier lock or unsupported radio band.
The modem registers but there is no internet
Check the provider's APN, authentication instructions, plan validity and remaining data allowance. Inspect the router's data-session status. Avoid repeatedly deleting and downloading the profile; a download problem and a data-session problem require different fixes.
Wi-Fi connects but client devices stay offline
Verify that the router itself has a working cellular data session. Then check its internet-routing configuration, client addressing and DNS settings using the manual. Disable the client's alternative connection while retesting so the result is unambiguous.
A replacement profile works on Android but not in the router
Confirm that the intended profile was selected before transfer. Compare the replacement provider's APN and roaming instructions with the saved router settings, and check router-use permission. Restore the last working configuration if service is urgent.
Customize your workflow
Keep profile management separate from connection management. The Android app or reader provisions the card; the router manages its cellular session and local network. Do not assume the router can remotely select stored profiles unless that exact capability is documented.
For sizing, distinguish plan allowance from card capacity. The supplied catalog includes pre-loaded 10GB / 30-Day and 20GB / 30-Day plan variants. Those figures describe data and validity, not router throughput or the number of profiles the adapter stores. Confirm coverage and provider permission before selecting either allowance.
Review privacy at each layer. The reader's open-source and no-account descriptions concern its provisioning route; they do not establish that the mobile provider or router collects no data. Protect activation codes, router credentials and provisioning sessions, and check the relevant software and provider policies.
For a larger 2026 rollout, use the IoT and router deployment guide to structure device checks. Switchesim offers bulk and white-label supply, but procurement does not replace a pilot on each intended hardware and firmware combination.
FAQ
Can I use an eSIM adapter for router data sharing?
Yes, when the adapter, router and eSIM plan support the intended setup. You need a compatible cellular router with a physical SIM slot and provider permission for router use and shared data.
How do I connect Switch Pro to a router?
Configure and select the profile through the Switch Android app, then install Switch Pro in a compatible router. Apply the provider's APN and roaming instructions and verify internet access from a connected client.
Does the router need native eSIM support?
This workflow uses the router's compatible physical SIM slot rather than a native eSIM-download interface. Physical SIM support alone does not establish compatibility with the adapter.
Can I load profiles without an Android phone?
The Bluetooth reader provides a profile-loading route without an Android phone. Confirm support for your exact card and management environment before using that route.
Is Switch Max better than Switch Pro for a router?
Compatible iPhone use is not a reason by itself to choose Switch Max for a router. Choose hardware based on verified router compatibility and your required profile-management method.
Will stored profiles switch automatically when coverage changes?
Stored profiles do not establish automatic failover. Treat profile changes as a managed operation unless the exact router and adapter workflow documents automatic switching.
Can several devices share the same router eSIM plan?
Devices connected to the router can share its working internet connection when the provider permits that use. Their traffic draws from the same plan allowance; the adapter does not create separate allowances.
One last thing
Test after removing the management phone from the workflow. A successful Android data test confirms one host, not the router. Your final 2026 acceptance check is a router restart followed by internet access from a client with no alternative connection.