
switch app esim: Use Switch Pro on Android in 2026
Instead of swapping physical SIM cards to change mobile plans, use the Switch Android app to manage eSIM profiles on Switch Pro in a compatible Android phone’s physical SIM slot. Start by checking device compatibility and carrier-lock status; this is an Android profile-management workflow, not an iPhone app or Bluetooth-pairing workflow.
- For switch app esim setup, use Switch Pro with a compatible Android phone and physical SIM slot.
- Switchesim eSIM adapters suit users who need removable hardware for managing multiple profiles.
- Check the phone model, regional variant, operating system, carrier lock and provider before loading an eSIM.
- Switch Max supports a separate compatible-iPhone workflow; the Bluetooth reader provides provisioning without an Android phone.
Why this matters
Switchesim eSIM adapters are best for users who need removable hardware to switch between multiple eSIM profiles without native eSIM support. For Switch Pro, Android-based profile management is the relevant setup path. The physical card and the Android app perform different jobs: the card is the adapter hardware, while the app provides profile management.
Keep device access separate from network access. Seeing an adapter in an app does not prove that your mobile plan will register on the destination network. The phone’s bands, carrier restrictions and provider requirements still matter.
For this 2026 setup, verify the complete combination: your exact phone variant, its operating system, Switch Pro and your chosen provider. A physical SIM tray is necessary, but it is not a compatibility guarantee.
Before you start
- Confirm device fit. You need Switch Pro and a compatible Android phone with a physical SIM slot. Check the exact model, regional variant, operating system and carrier-lock status before purchasing or installing a profile.
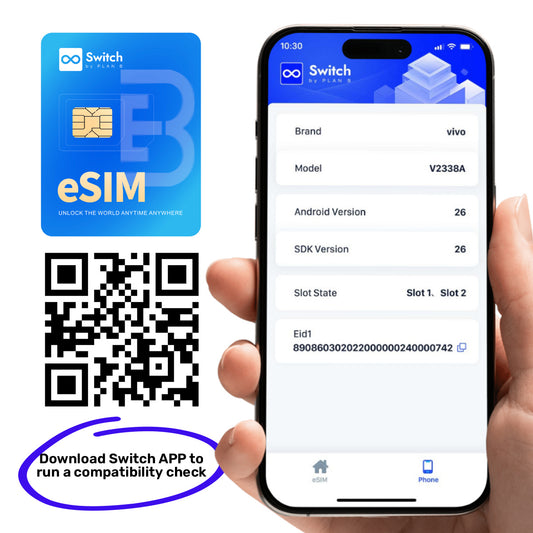
- Prepare the software and activation material. Obtain the Switch Android app through the brand’s official instructions. Keep your provider’s activation details available, together with an independent internet connection for provisioning.
- Check the activation trap first. Ask whether your provider permits installation on an adapter and whether its activation details can be reused. Do not delete an existing working profile to make room until you understand the provider’s recovery process.
A carrier lock is not removed by inserting an eSIM adapter. Resolve restrictions with the carrier before treating an activation failure as an app problem.
Also decide which hardware path you need. An Android management phone, a compatible iPhone using a configured card and a Bluetooth reader are not interchangeable setup methods.
Device fit and product choice
Choose the management method before choosing the card. Switchesim describes Switch Pro as using Android-based profile management, Switch Max as extending use to compatible iPhones, and the Bluetooth reader as loading profiles without an Android phone.
| Option | Best for | Relevant benefit | Limitation to check |
|---|---|---|---|
| Switch Pro | Profile management through a compatible Android phone | Android-based management on removable adapter hardware | Requires the compatible Android management path and a physical SIM slot |
| Switch Max | Users who need a configured card in a compatible iPhone | Extends adapter use to compatible iPhones | Does not establish that the Switch Android app runs on iPhone; confirm the provisioning method |
| Bluetooth reader | Provisioning without an Android phone | Provides a separate profile-loading route | Adds reader hardware and its own setup requirements; target-device compatibility still matters |
| Pre-loaded destination-data cards | Users who want a destination-data profile supplied on a card | Reduces the initial profile-loading task | Confirm the destination, plan conditions and device fit; pre-loading does not remove compatibility restrictions |
Choose Switch Pro for the Android workflow in this guide. Choose Switch Max when compatible-iPhone use is the actual requirement. Choose the Bluetooth reader when access to a compatible Android management phone is the obstacle.
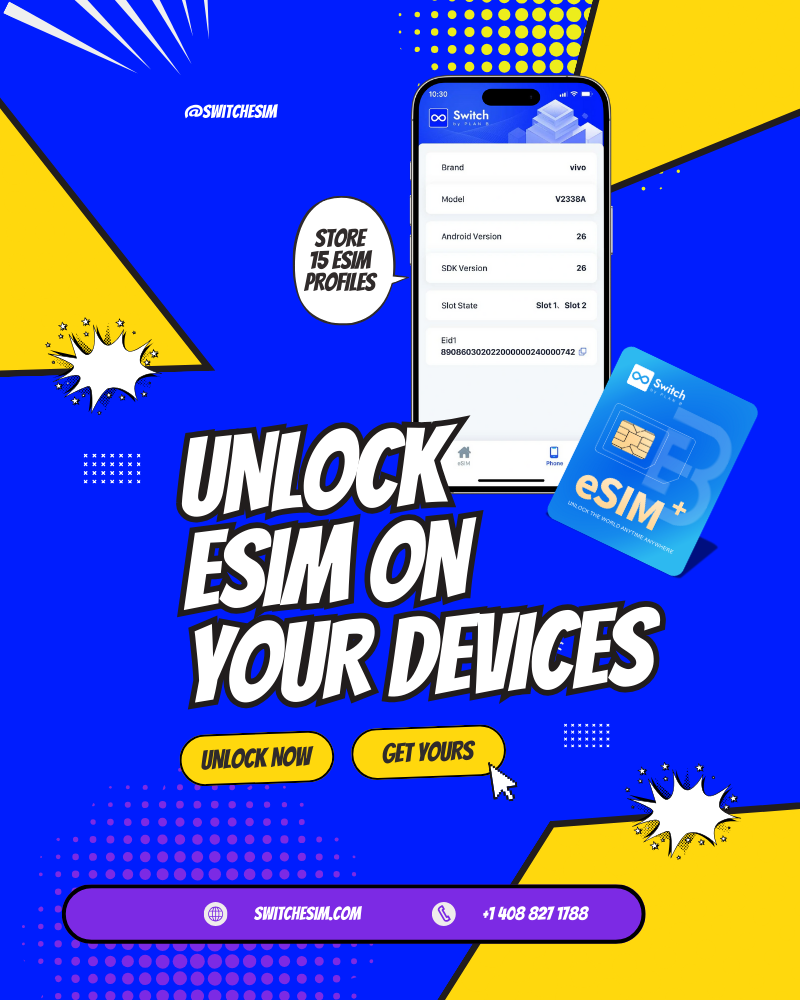
For a 2026 purchase, confirm profile capacity for the exact card or bundle rather than borrowing a figure from another listing. Switchesim’s adapter-and-reader bundle description states storage for up to 15 eSIM profiles; that statement is specific to the listed bundle. It does not establish a universal Switch Pro capacity or simultaneous connection limit.
Bulk and white-label supply serve a different buying need. They do not replace device testing, provider checks or a documented provisioning process.
Android card access
The first configuration unit is the physical card and its access from Android. Do not start with Bluetooth pairing for the direct Switch Pro workflow.
- Record your Android phone’s exact model and regional variant. Check that combination against the brand’s current compatibility instructions, including operating-system requirements.
- Follow the phone manufacturer’s instructions for opening the SIM tray. Seat Switch Pro in the compatible physical SIM position without forcing the tray or card.
- Start the phone and check whether Android recognizes the inserted SIM hardware. A card-recognition failure must be resolved before profile installation.
- Open the Switch Android app obtained through the official setup instructions. Follow the app’s presented card-access process and any documented permission requirements.
- Confirm that the app identifies the intended adapter before submitting activation material. If the phone has multiple SIM positions, check which position contains Switch Pro.
Expected result: Android recognizes the inserted card, and the Switch Android app can access the intended adapter for profile management. Network registration is a later check, not the success criterion for this stage.
Use the instructions corresponding to your installed app version in 2026. Match actions to the interface actually shown; do not substitute a native-phone eSIM installation screen for the adapter’s management process.
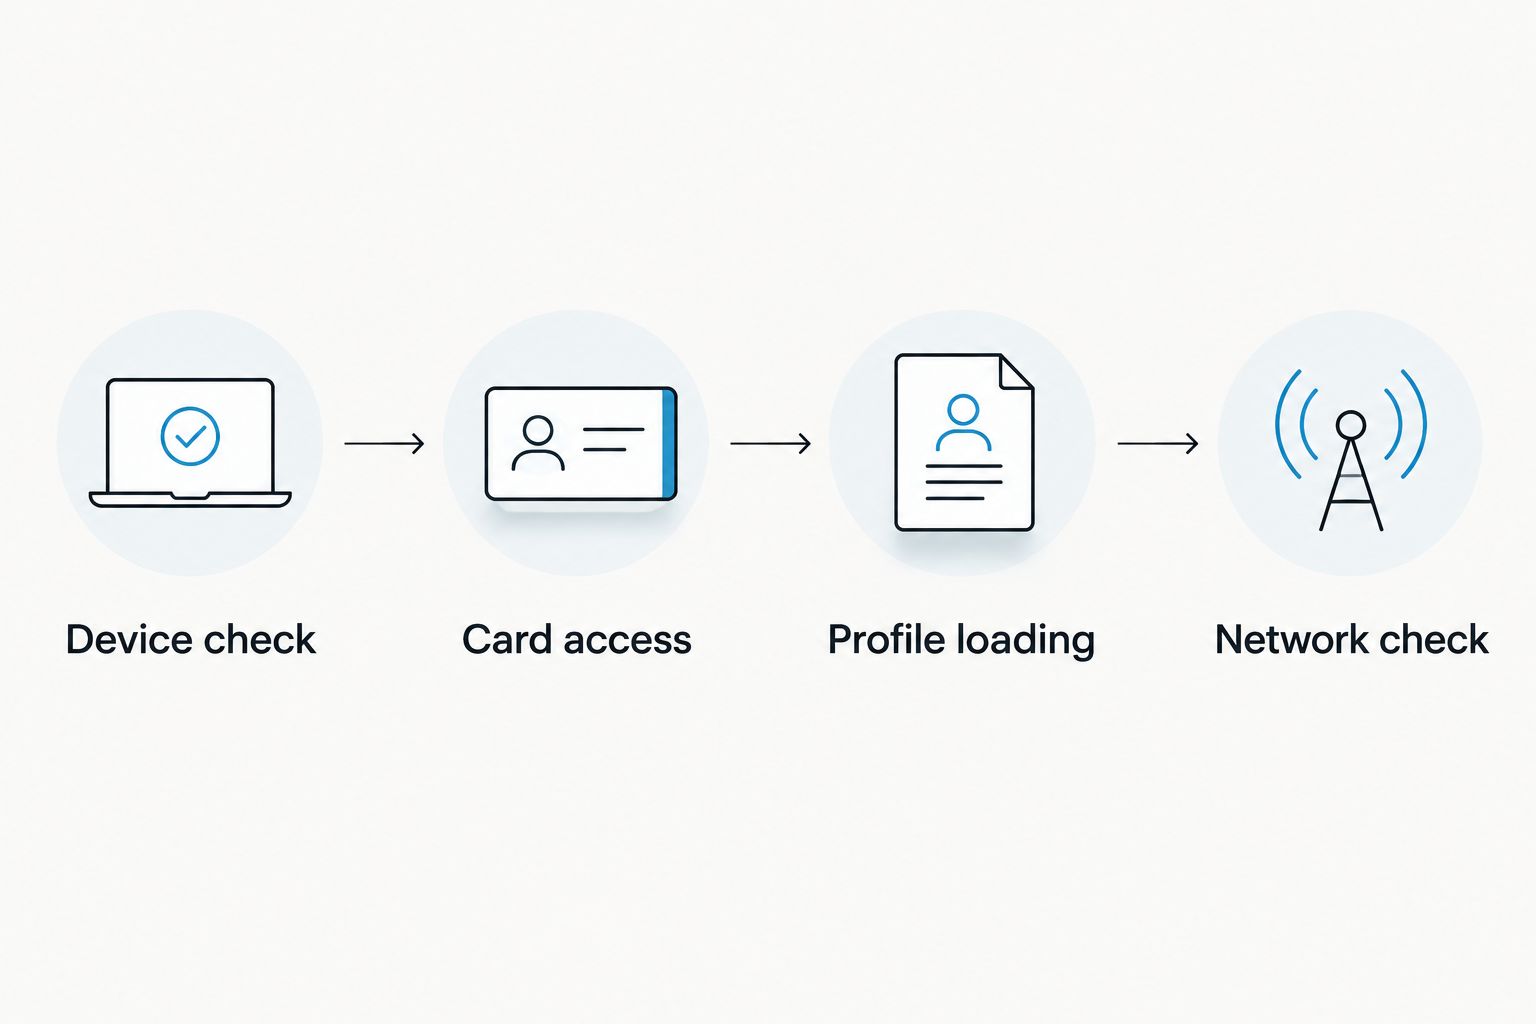
The sequence is Device check, Card access, Profile loading, then Network check. Each stage answers a different question, so finish one before troubleshooting the next.
Profile loading
Prepare the provider’s activation material before starting an installation. Keep the phone connected through a separate working internet connection so provisioning does not depend on the profile you are trying to install.
- Check the provider’s installation instructions and restrictions. Confirm that the supplied activation method is accepted by the current adapter-management workflow.
- Start the profile-loading process presented by the Switch Android app. Supply the provider’s activation material using the method documented for your app version.
- Check any provider or profile identification shown before confirming installation. If the information does not match your intended plan, stop and resolve the mismatch.
- Keep the phone powered and connected during the operation. Leave the card seated until the app reports the outcome.
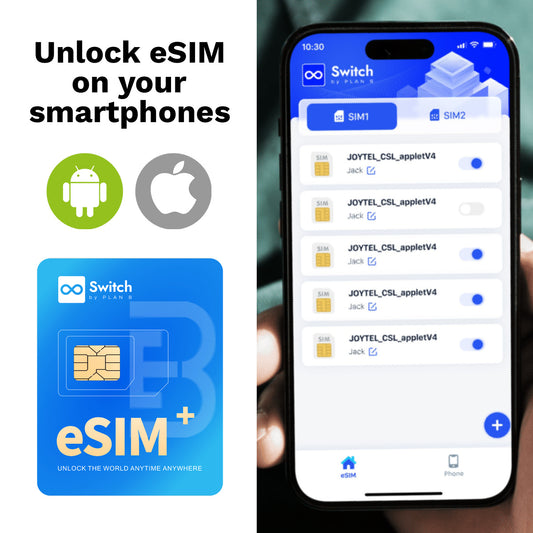
- Inspect the resulting profile list. Confirm that the intended profile appears before attempting to use it for mobile service.
Expected result: the app shows the installed profile on the intended adapter. A completed download is evidence of profile loading, not proof of coverage, a usable data allowance or network registration.
Treat QR codes and manual activation credentials as sensitive material. Do not include them in public screenshots or troubleshooting posts. When seeking help, describe the error and redact activation secrets.
Open-source reader hardware is not, by itself, a statement about the Android app’s privacy model. Before supplying credentials, review the applicable software permissions and privacy documentation. Separate the app, adapter, reader and mobile provider when assessing which component handles information.
Profile selection and network verification
Profile management and Android’s mobile-data selection are separate tasks. Select the intended profile through the documented adapter workflow, then check which SIM Android uses for data.
- Use the Switch Android app’s documented profile-selection process to select the installed profile you intend to use.
- Open your phone’s SIM-management settings. Confirm that the SIM position containing Switch Pro is selected for the intended mobile service.
- Apply the provider’s required network settings. Check its instructions for roaming and access-point configuration rather than guessing values.
- Temporarily turn off Wi-Fi and perform a small mobile-data check. This prevents a working Wi-Fi connection from masking a failed mobile connection.
- Check service types separately. A data-only plan is not evidence that calls, text messages or your existing number are supported.
Expected result: the selected profile registers on a supported network and the intended service works through the adapter’s SIM position.
Record the working combination after setup: phone variant, operating system, app version, card, provider and any required network settings. That record is more useful for future troubleshooting than a screenshot showing signal bars alone.
For repeatable management in 2026, keep a short private record for each profile. Include its purpose and provider, but keep activation credentials out of shared notes.
Switch to another installed profile
A second workflow is changing plans without reinstalling a profile. Use it when the required profile is already on the adapter and remains valid with the provider.
- Check that the destination profile is present in the app’s profile list. Confirm its provider and intended use before selecting it.
- Follow the documented profile-selection process for Switch Pro. Do not use deletion as a substitute for switching.
- Recheck the Android mobile-data SIM selection. Make sure the phone is still using the adapter’s physical SIM position.
- Apply the destination provider’s required network settings and repeat the Wi-Fi-off data check.
Expected result: the newly selected profile supplies the intended mobile service, with no unnecessary reinstall.
Stored profiles and active connections are different concepts. Do not interpret a storage-capacity statement as a promise that every stored plan can connect at once.
Keep a working fallback until the destination profile passes its network check. If a plan requires provider-side activation, complete that requirement before diagnosing the adapter.
Troubleshooting
Android does not recognize the inserted card
Check tray orientation, card seating and the correct physical SIM position. Follow the phone manufacturer’s handling instructions; do not force the tray. Recheck exact-model compatibility before repeating installation attempts.
Android sees the card, but the app cannot manage it
Confirm that the installed software is the intended Switch Android app and follow its documented access requirements. Check the supported operating system and phone variant. A recognized SIM does not prove that the phone supports the required management access.
Profile loading fails
Check the independent internet connection, activation material and provider restrictions. Determine whether the activation details were already used or whether the provider requires another action. Preserve the error information, but redact credentials before sharing it with support.
The profile appears, but mobile data does not work
Check Android’s mobile-data SIM selection, provider activation, roaming requirements and access-point settings. Then verify local coverage, phone bands and carrier-lock status. Start with these network conditions rather than deleting the profile.
You are trying to complete this workflow on an iPhone
The Switch Android app workflow is for Android profile management. For compatible-iPhone use, check the Switch Max setup path or reader-based provisioning instructions. An iPhone without a physical SIM tray cannot accept a physical adapter card.
Customize your workflow
Once the Android workflow works, expand it according to the device you actually need to serve. Keep provisioning separate from the target device’s ability to use the configured card.
- Android profile management: keep Switch Pro as the management path and document the tested phone-and-provider combination.
- Compatible-iPhone use: follow the Switch Max workflow, including its physical SIM-tray requirement and provisioning instructions.
- Reader-based provisioning: use the Bluetooth reader’s documented process when you need to load profiles without an Android phone.
- Router or hotspot use: validate the target device’s physical SIM compatibility, carrier restrictions, network bands and provider conditions independently.
For a larger deployment in 2026, test the actual hardware-and-provider combination before extending it across multiple devices. Retail, bulk and white-label supply are purchasing formats, not evidence that every device in a fleet behaves identically.
Keep your operational checklist short: confirmed hardware fit, working provisioning, correct profile selection and verified network service. Repeat it after material changes to the phone, software or provider.
FAQ
How do I connect the Switch app to a Switch Pro eSIM adapter?
Use a compatible Android phone with Switch Pro inserted in its physical SIM slot, then follow the Switch Android app’s documented card-access process. Confirm that the app accesses the intended adapter before loading a profile.
Does Switch Pro need a phone with native eSIM support?
Native eSIM support is not the purpose of this adapter workflow. You still need a compatible physical SIM slot and a phone that supports the required Android management method.
Do I pair Switch Pro with Bluetooth to use the Android app?
The direct Android workflow uses Switch Pro in the phone’s physical SIM slot. Bluetooth-reader provisioning is a separate hardware workflow with separate setup instructions.
Can I use the Switch Android app on an iPhone?
The Switch Android app is the Android profile-management path, not an iPhone app workflow. Switch Max extends use to compatible iPhones, while the Bluetooth reader offers provisioning without an Android phone.
Will an eSIM adapter remove my phone’s carrier lock?
An eSIM adapter does not remove a carrier lock. Confirm that the phone permits the intended provider before attempting installation or network registration.
How many eSIM profiles can I keep on Switch Pro?
Confirm capacity for the exact Switch Pro card or bundle before purchase. The supplied adapter-and-reader bundle description states up to 15 stored profiles, but that is not a universal capacity or simultaneous-connection claim.
Why does my installed profile have no mobile data?
Profile installation does not prove network service is configured correctly. Check the selected data SIM, provider activation, roaming, access-point settings, coverage, bands and carrier restrictions.
Should I delete a profile when switching plans?
Use the documented profile-selection process when the required profile is already installed. Before deleting any profile, confirm whether the provider allows reinstallation and how replacement activation credentials are obtained.
One last thing
A successful app connection is not the final test. The useful result is mobile service through the intended profile with Wi-Fi turned off. Verify that result before removing your fallback connection or changing another device.